How To Frame Chalk Pastels: A Step-by-Step Guide
Ever thought about how to keep your beautiful chalk pastel art looking great? This guide will show you how to frame chalk pastels right. You’ll learn the best ways to keep their colours bright and their textures soft.
Getting your pastels framed might seem hard, but it’s easier than you think. With the right steps, you can make your art stand out. This article will give you all you need to know to frame your chalk pastels like an expert.
Learn The Correct Method Of How To Frame Chalk Pastel Art
- Understand the importance of proper framing for preserving chalk pastel artworks
- Discover the essential materials required for framing chalk pastels
- Learn how to fix pastel artwork to prevent damage during the framing process
- Explore the benefits of using a spacer and cleaning the glass for optimal presentation
- Gain insights into hinging the artwork, matting, and preventing pastel dust
Introduction to How to Frame a Chalk Drawing
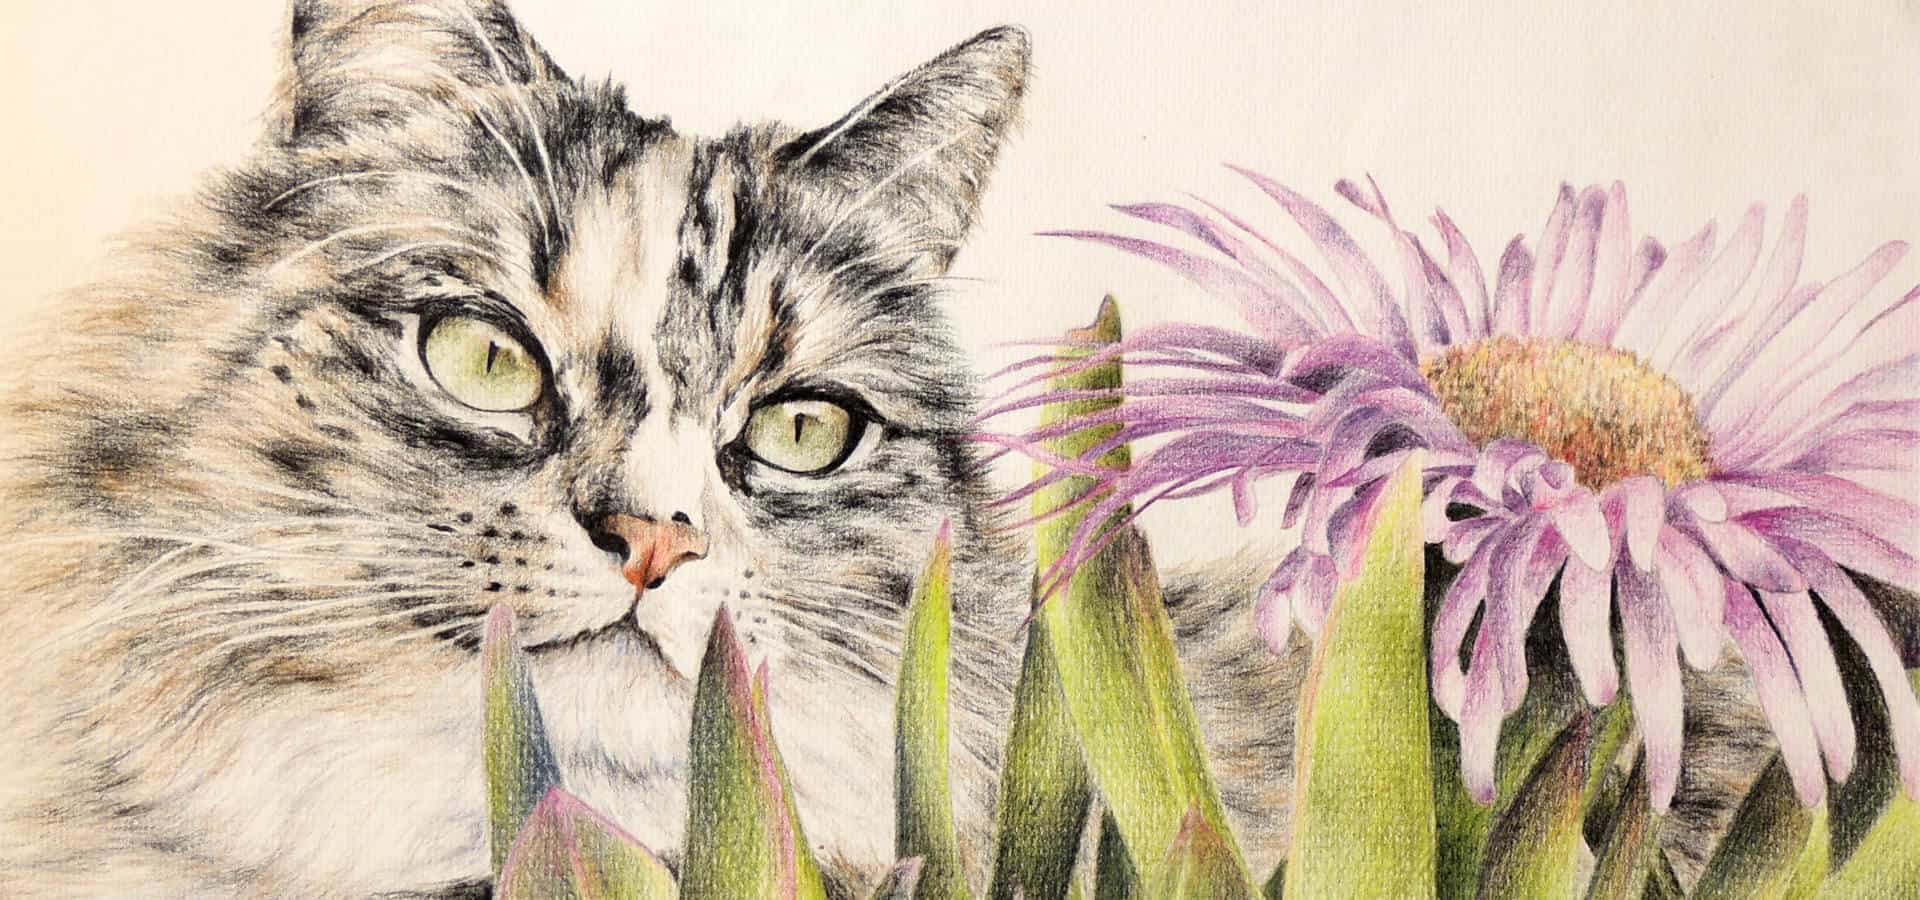
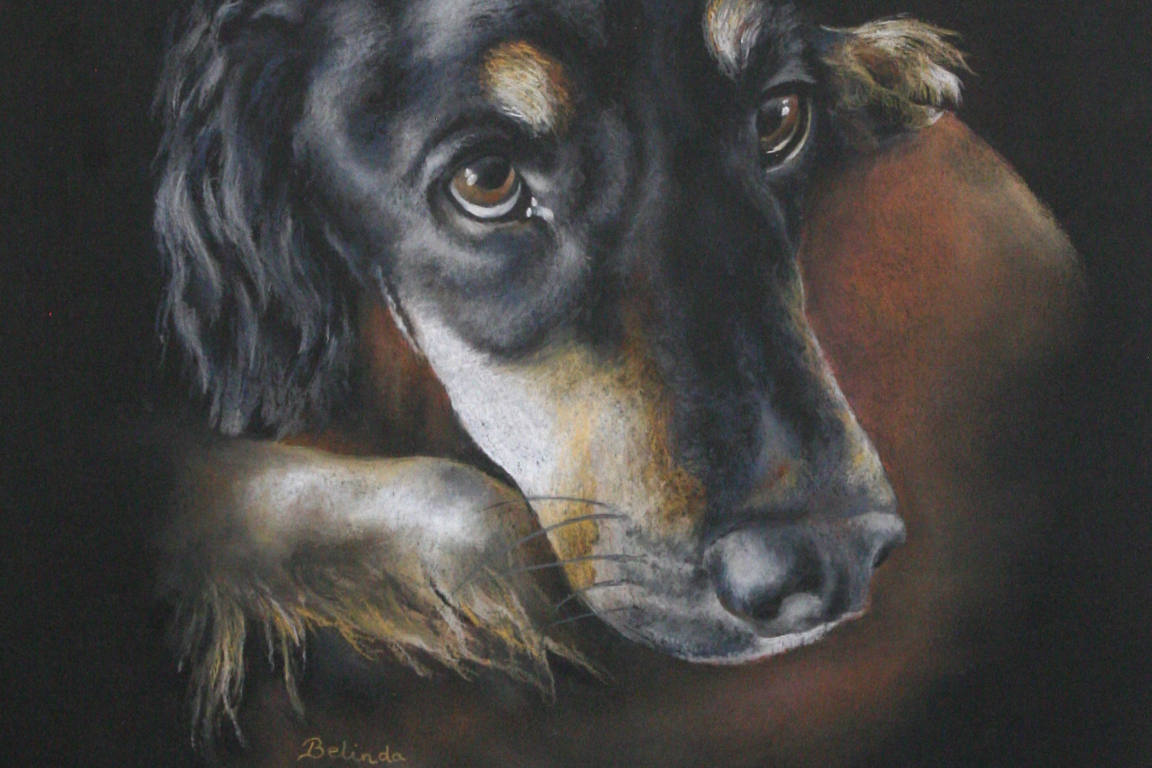
Chalk pastels let artists make artworks full of life and texture. But, these delicate pieces need special care to stay beautiful. The right framing is key to keeping pastel artwork safe, ensuring it lasts longer and stays undamaged.
The Importance of Proper Framing
Framing chalk pastels is vital for many reasons. It keeps the pastel artwork protected from dust, humidity, and UV light. This can fade or smudge the pastel over time. A good frame also keeps the pastel artwork in one piece, preventing the fragile surface from getting damaged.
Considerations for How to Frame Chalk Art
There are key things to think about when framing chalk pastels. Choosing the right pastel fixatives is important, as is picking the best pastel paper types for framing. Also, pastel framing requirements, like using spacers and anti-reflective glass, are vital for protecting the artwork and making it look great.
Knowing how to frame chalk pastels helps artists keep their bright, expressive art safe for the future. It also helps in pastel dust prevention and lets their talent shine.
Materials Needed for Framing Chalk Pastels
Learning how to frame a chalk pastel drawing requires special materials for protection and lasting beauty. It’s important to use top-quality, conservation-grade items. Take a look at the key materials you’ll need for framing chalk pastels.
Start with acid-free mounting boards as the base for your art. These boards stop the pastel from fading or getting damaged. Also, use archival tapes and adhesives to attach the artwork safely and without harm.
Pastel fixative sprays are key for framing. They fix the chalky colours, stopping smudges and keeping the art safe. Don’t forget framing tape to seal the gap between the board and the glass or acrylic.
- Acid-free mounting boards
- Archival tapes and adhesives
- Pastel fixative sprays
- Framing tapes
- D-rings for hanging
- Hanging wire
D-rings and hanging wire are the last bits you need. They let you hang your framed chalk pastel safely. With these archival framing materials, your pastel art will stay protected and beautiful for many years.
So let’s go into how to frame chalk pastels in more detail.
How to Frame Chalk Pastels Correctly
Framing chalk pastels needs careful attention to keep the artwork safe. It involves key steps to make sure the piece is well-protected. Whether you’re an expert or just starting, learning the art of mounting pastels and how to frame pastels and are key to showing off your work well.
Choosing the right frame is crucial when framing soft pastels. The frame should match the artwork’s look and provide the right support. Make sure the frame has a deep recess to fit the pastel’s texture. Use glazing points, turn buttons, or offset clips to keep the artwork in place.
- Prepare the Artwork: Clean the pastel gently to remove any loose bits. This keeps the artwork safe during framing.
- Choose the Appropriate Frame: Pick a frame with enough depth for the pastel’s thickness. This stops the artwork from touching the glass or acrylic glazing.
- Secure the Artwork: Use glazing points, turn buttons, or offset clips to keep the pastel in the frame. This stops it from moving or falling out.
- Add a Spacer: Put a spacer between the artwork and the glazing. This creates a gap and keeps the pastel away from the glass or acrylic.
- Hinge the Artwork: Attach the artwork to the frame with acid-free tape or hinges. This makes it easy to remove and reframe later.
By following these steps, you can frame your chalk pastel artworks carefully. Remember, the right framing not only keeps the artwork safe but also makes it look better and last longer.
Fixing Pastel Artwork
Securing a fragile pastel medium is key in framing. Using a suitable fixative keeps the chalk pastels stable and stops them from smudging. Daler Rowney Perfix is a top pick for artists, offering various fixatives for different papers.
Choosing the right fixative depends on the paper’s texture. Velour papers need a strong fixative, while smooth papers like Pastelmat do better with a light one. Testing small areas can help you find the best fixative and method for your art.
- Daler Rowney Perfix: A versatile fixative suitable for a range of pastel paper types
- Velour pastel paper: May require a stronger fixative to adhere to the textured surface
- Pastelmat: Responds well to a lighter fixative application
Fixing properly keeps the pastel stable and preserves its colours and details. Knowing the needs of pastel paper types and using the right pastel fixatives helps artists protect their chalk pastels for framing.
Adding a Spacer
When framing chalk pastels, it’s key to stop pastel dust from sticking to the mat. A spacer is used to keep the dust away. This spacer makes a gap, so any loose dust falls behind the mat, keeping it clean.
Adding an acid-free spacer is easy. Make sure it’s a bit smaller than the artwork. This way, it won’t get in the way of the framing. With the spacer in place, the pastel dust stays away, keeping the artwork safe.
Cleaning the Glass
It’s also vital to clean the glass or acrylic before framing. Dust or fingerprints can be a distraction. Use a clean cloth and a special glass cleaner for framing to wipe it down.
This makes sure the chalk pastel looks its best. A clean glass surface lets the viewer enjoy the artwork fully.
Using a spacer and a clean glass surface is key for framing chalk pastels. It helps keep the artwork safe for a long time.
Hinging the Artwork
It’s key to hang chalk pastel artworks right to keep them safe for a long time. The right hinging methods stop damage and let the artwork change with the weather.
When you mount pastel artwork, use acid-free hinging tape to stick it to a stiff backing. This keeps the pastel safe, letting it move with changes in humidity and temperature without damage.
- Choose an acid-free hinging tape made just for pastel artwork.
- Line up the pastel artwork on the board, leaving a bit of space around the edges for expansion.
- Stick the hinging tape along the top edge of the artwork to the board securely.
- Let the artwork ‘float’ on the board, giving it room to expand and contract safely.
Using these hinging methods helps keep your pastel artwork safe for years. It reduces the chance of damage from the weather. This careful mounting keeps your artwork looking great.
Matting the Artwork
Matting is key when framing chalk pastels. It keeps the pastel away from the mat. This stops pastel dust from settling on the mat. Using acid-free mat boards helps keep your artwork safe and looking great.
Preventing Pastel Dust on the Mat
Protecting your pastel art from dust is vital. Here are some steps to follow:
- Choose high-quality, acid-free archival mat boards that won’t harm the pastel over time.
- Apply a thin layer of clear acrylic medium to the mat to trap pastel dust.
- Use spacers to keep the artwork and mat apart, preventing contact.
These steps will help keep your pastel artwork matting safe and sound.

Glass vs. Acrylic
Choosing between glass and acrylic for framing chalk pastels is important. Glass is often the top choice because it keeps the delicate medium safe. It has special qualities that are perfect for pastel art.
Anti-Reflective Coatings: Enhancing Visibility
Glass is great for pastel frames because of its anti-reflective coatings. These coatings reduce glare and reflections. This lets viewers see the artwork clearly without distractions.
Acrylic is lighter and doesn’t break easily, but it doesn’t have the same anti-reflective qualities as glass. This can be a big issue for pastels, as reflections can hide the details of the artwork.
Also, glass doesn’t get static charges like acrylic does. This means less dust and particles can stick to the artwork. Acrylic’s static can attract these unwanted elements, harming the pastel.

So, glass is the top pick for framing chalk pastels. It offers better optical quality and keeps dust away. This ensures the artwork looks great and stays safe.
Dust Cover and Hanging Wire
To finish framing your pastel artwork, add a dust cover to the frame’s back. This protects the artwork from moisture, pests, and other factors that could harm the pastels. Use double-sided tape and kraft paper to cover the back easily and keep your pastel painting safe.
Adding archival hanging hardware is also key to displaying your framed pastel artwork. Attach D-rings and a hanging wire to the frame’s back to secure wall hanging. High-quality, archival-grade hardware helps keep your pastel artwork looking great and valuable for a long time.
Applying the Dust Cover
- Measure the back of the frame and cut a piece of kraft paper or archival-quality backing board to fit.
- Apply a thin layer of double-sided tape around the perimeter of the frame’s back.
- Carefully place the cut piece of kraft paper or backing board onto the double-sided tape, ensuring a secure seal.
- Trim any excess paper or board, leaving a clean, finished edge.
Installing Hanging Hardware
- Attach D-rings or sawtooth hangers to the top corners of the frame’s back.
- Thread a sturdy hanging wire through the D-rings, ensuring it is taut and secure.
- Test the hanging wire by gently lifting the frame to ensure it can support the weight of the pastel artwork.
By following these steps, you can be sure your framed pastel artwork is well-protected and displayed beautifully. This will help keep its beauty and value for many years.
Final Thoughts On How to Frame Chalk Pastels
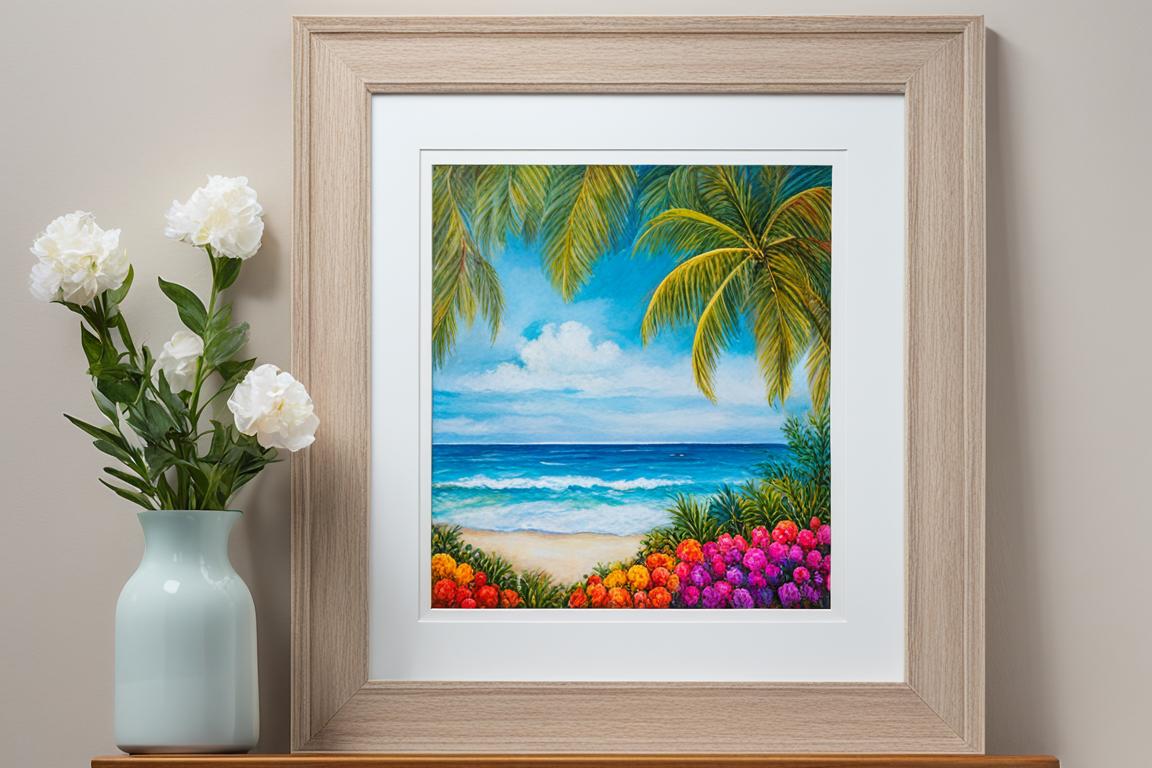
This how to frame soft pastels guide has given you the key knowledge and skills to frame your chalk pastel artwork with confidence. You now know how to protect, preserve, and show off your pastel paintings. Proper framing is key for a pastel artwork, and this article has given you the skills and pastel framing techniques to do it right.
Knowing how to frame chalk pastels requires careful attention and knowledge of this medium’s unique traits. This guide covers everything important about pastel artwork presentation. With these techniques, your chalk pastel art will be displayed and kept safe for many years.
Whether you’re a pro or just doing it for fun, this guide to framing chalk pastels has given you the skills to showcase your art well. By learning how to frame, you can make your chalk pastel art more impactful and long-lasting. This ensures your art is enjoyed and kept safe for future generations.